
OLD INSTRUCTIONS:
Uploading your balloons with a CSV file can save so much time compared to trying to add them 1 by 1 manually. Below is an explanation of the steps to take when building a CSV to upload. Keep all the fake emails and passwords provided. For the CSV to be accepted every email field has to be unique. If you have customers who have purchased more than 1 balloon this will result in duplicate emails (a person buying 5 balloons will result in 5 balloons with the same email – if this happens only the 1st balloon will be accepted so you you must use the fake emails provided). Keep all the real emails on your own system and use the fake emails populated in the below CSVs. This keeps everything very GDRP friendly.
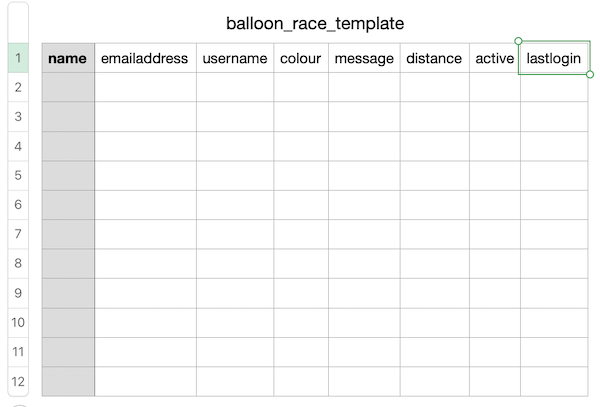
Start by downloading the below CSV file:
These are the only fields you need to enter:
In your colour column (this relates to the balloon colour) the names need to exactly match the web format. Here are the correct colour names to download (try to build your webform with these names).
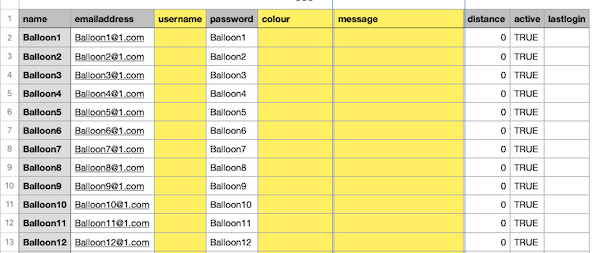
Enter the details into your spreadsheet:

You can leave all the empty fields – they will not be accepted and if you need to do another upload you can use the same CSV – the balloons you’ve already uploaded will not be duplicated.
For this demo I’ll upload 2 balloons and include 98 empty fields which will not be accepted. Before I upload I make a note of the number of balloons I’m uploading – in this case it’s 2.
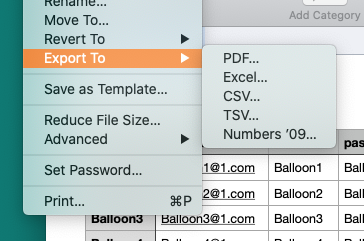
Next export to CSV (do not use spaces in your filename).
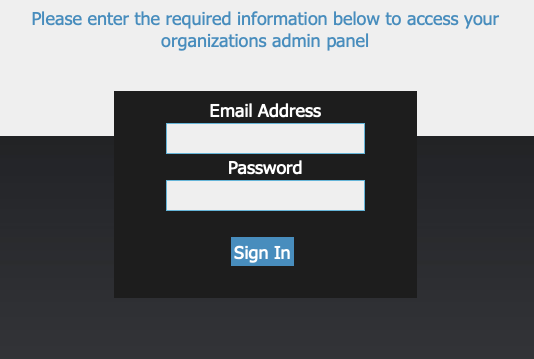
Now you‘re ready to login and upload the file, go to your admin page and login:
Select “Administer the balloons”:

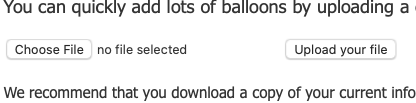
Choose the file you want to upload and select “Upload your file”
Once uploaded you’ll get a message of how many have been accepted. In this case it’s 2 which matches with the above.
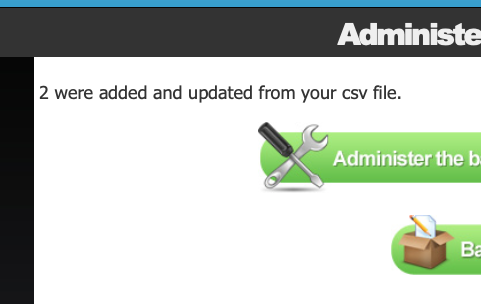
Click the administer balloons button and you can see your uploaded balloons:

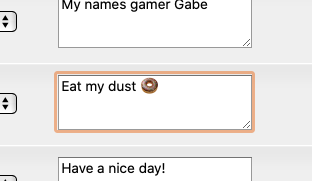
You may need to correct any apostrophe or exclamation marks – then select “UPDATE THESE DETAILS” at the bottom of the screen (for emoji corrections see below):

Now you can view your balloons from your front page. Your leaderboard should be populated:
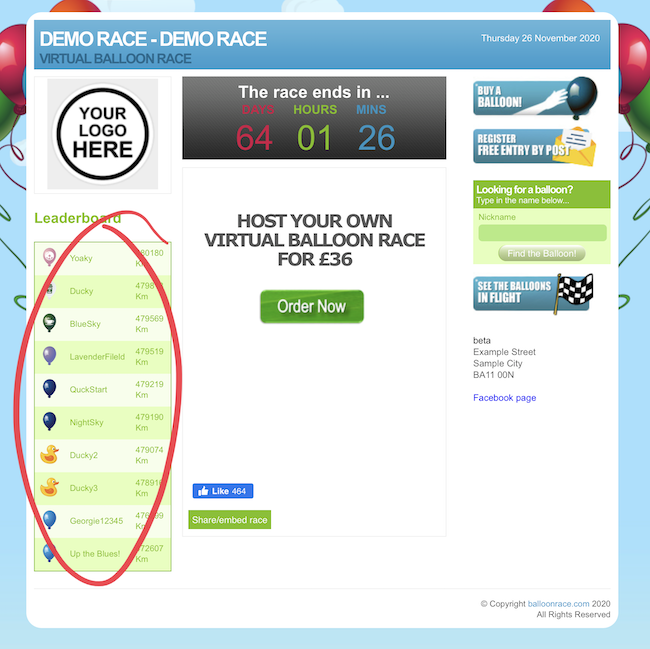
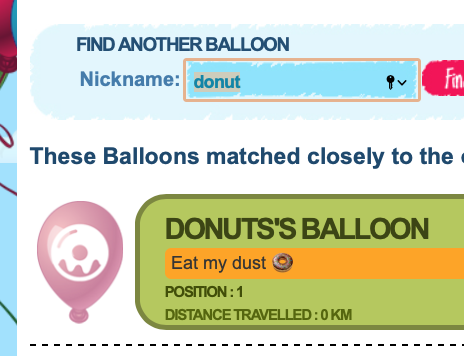
You can click on the leaderboard and check the messages have uploaded… and you’re all done. Read further to correct emojis etc.

Hi David
Thank you so much for the information. Our balloons started on Thursday so have 4 days to go. The kids and adults are really enjoying this PTA event.
We were totally blown away by the support from the families in the school and this event has raised over £1200. We decided not to have a buy now button and asked the children to bring their money into school. Slightly more work for us but your instructions and the spreadsheet made it very simple to upload the details. We also gave each class in the school a free balloon so there will be a class prize for the first one to cross the line as well as prizes for the top 5 winners.
Thank you again and we hope to run this event again soon
Regards
Kelly
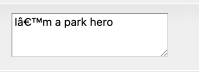
Doing imports and exports can confuse your emojis – but it’s possible to go back to your original CSV and copy the emojis into the balloonrace.com admin. But beware – every time you login they will all revert back – so this should be the very last thing you do… after your final upload.
Go to your original CSV and copy the emoji.
To save time in the admin you can use “Command F” (ctrl F on Windows) to find balloons in your list:

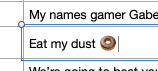
Paste into the admin area:
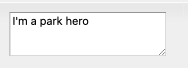
Change all emojis in 1 hit and save changes and check your leaderboard:
It’s also good to check any other glitches, exclamation marks etc:
Hope this was helpful… now you can move on to your next fundraising mission.